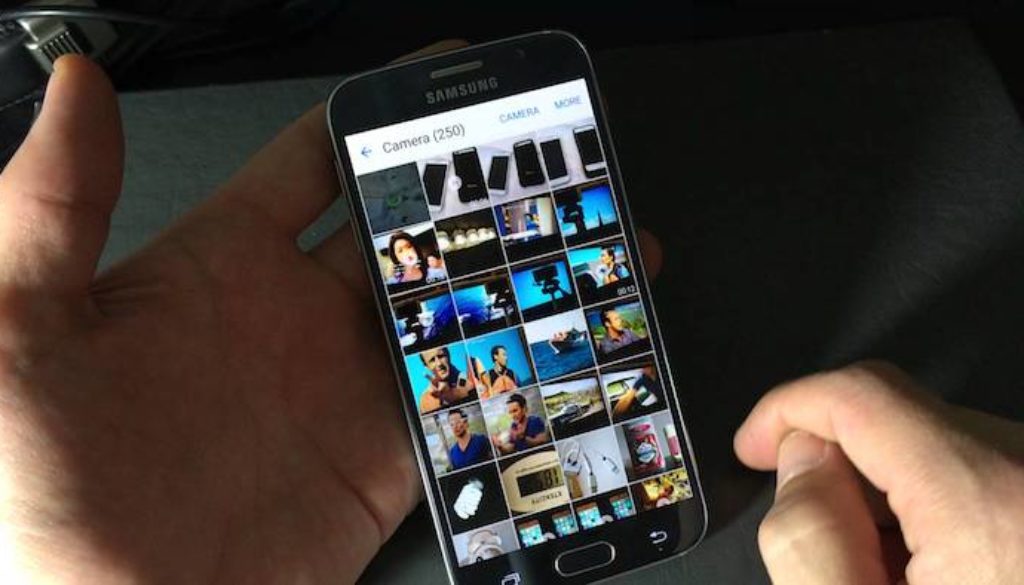
How to Erase Photos from Samsung Phones Permanently?
Samsung phones have been serving innumerable clients for years with its fantastic features and spell-bounding sight capturing designs. Thus it is not uncommon for users to fall for it. Once you get a hold of such a wonderful device, you would definitely wish to use it for capturing images as it provides mind-boggling front and back cameras of 16 Megapixel which create images of about 5213 x 2988 resolutions.
All these images are most cherishing assets of yours which you would never wish to share it with someone unknown. Now, what if you are supposing to hand over your device to someone else, someone who is completely unknown to you, then you are highly recommended to erase all those images or photos from your device immediately on a serious note. You have no idea how these images can be manipulated or exploited over the vast online platform causing you severe damage and problems.
Here in this article we have come up with 3 wonderful methods which would guide you step by step to let you know how to erase images off your Samsung phones.
Continue reading to know the methodology of the solutions.
Method #1: Erase Images Manually
In this section, we would implement the in-built deletion feature of the Android device to carry out the job. It is a tedious yet, a secured passive way to delete the images off your device. The steps are outlined as follows:
Step 1. Turn on your Samsung Phone and open the Gallery App.
Step 2. Tap on the image that you wish to delete, and keep on tapping on all the images that you are intending to delete thereby creating a thread of images to delete them altogether.
Step 3. Once you are done with selecting what to delete, press the “Trash” icon from the above bar.
Step 4. Press “Delete all images” to confirm the deletion process.
And there you go! All your images have been eradicated from your device once and for all.
CONS:
- It will take a lot time before you can completely delete the images from the Samsung
- The erased images can be recovered by any expert with the data recovery procedures using data recovery tools.
Method #2: Erase images with Soft Reset
This section basically deals with formatting the entire Samsung device using Factory reset to delete all the images saved on your device. The method is not that difficult to pull off if you have even the slightest of technical skills with Android devices. The steps for the following method are given below:
Step 1. Turn On your Samsung phone.
Step 2. Tap on “Menu” and launch the “Settings” option.
Step 3. From the “Personal” section tap on “Backup & Reset” option. If you are asked, you might have to enter your PIN or Password.
Step 4. Now; press “Factory Data Reset”.
Step 5. You will see a bunch of information below which you will get to see an option as “Reset Device”. Tap on it followed by “Delete Everything” option that turns up.
CONS:
- On account of deleting the images, it deletes all your important personal data as well, like contact details, videos, messages, etc.
- The lost images can be retrieved by recovery tools.
Method #3: Erase Images using SafeWiper Software
SafeWiper for Android is a wonderful data erasing tool which wipe all kinds of data from your Samsung phone devices, which here in case is Samsung Phones without any trace of data left for future recovery. It usually comes with 3 modes for deletion, namely “Erase All Data”, “Erase Private Data”, “Erase App Data”. For the deletion of Images from the Samsung Phone, we would deploy here “Erase Private Data” to do the job.
Advantages of using SafeWiper for Android
- It erases data with 0% recovery possibility.
- It offers 24×7 technical support.
- No internet is required while deleting the data.
- The data lost cannot be recovered by any expert hackers.
SafeWiper Working for Samsung Phone:
Step 1. Download the program file from an accessible computer and install it properly.
Step 2. From the main interface window, select the “Erase Private Data” option out of the above 3 mentioned options.
Step 3. Now connect your device to the computer using USB cable and navigate to the following location in your device:
Settings> Developers Options> USB Debugging
It will enable the USB Debugging feature of your Samsung device.
Step 3. Now the software will scan your device which might take few minutes depending upon the volume of contents contained within the device. Once it is done it will display all the data contained by the device like a preview, from which you can select exactly which images you wish to erase. Click on “Erase” option from the bottom left corner of the screen to initiate the deletion process.
NOTE: If you wish to alter the security level, the best choice would be to choose Middle Level.
Step 4. Now while the program is deleting the images of your device, make sure that the device remains connected to the computer or else it could terminate the process in the midway.
Lo! The problem is solved. Your images from the Samsung phone are erased completely with no scope for future recovery thereby providing you the utmost security.
Conclusion:
Erasing images off your Samsung phone is a noticeable demand when you are about to hand over your device to someone unknown for the first time. There are innumerable methods that can be put to use, but they all come with one setback that the data can be recovered later on using technical expertise by any hacker. So it puts you to the still insecure domain. But SafeWiper for Android is one such tool which serves you with the 0% recovery guarantee.
For further information, you can also visit Safewiper’s official site


